The Legato Jeans - My Tips for Making Jeans
Posted on
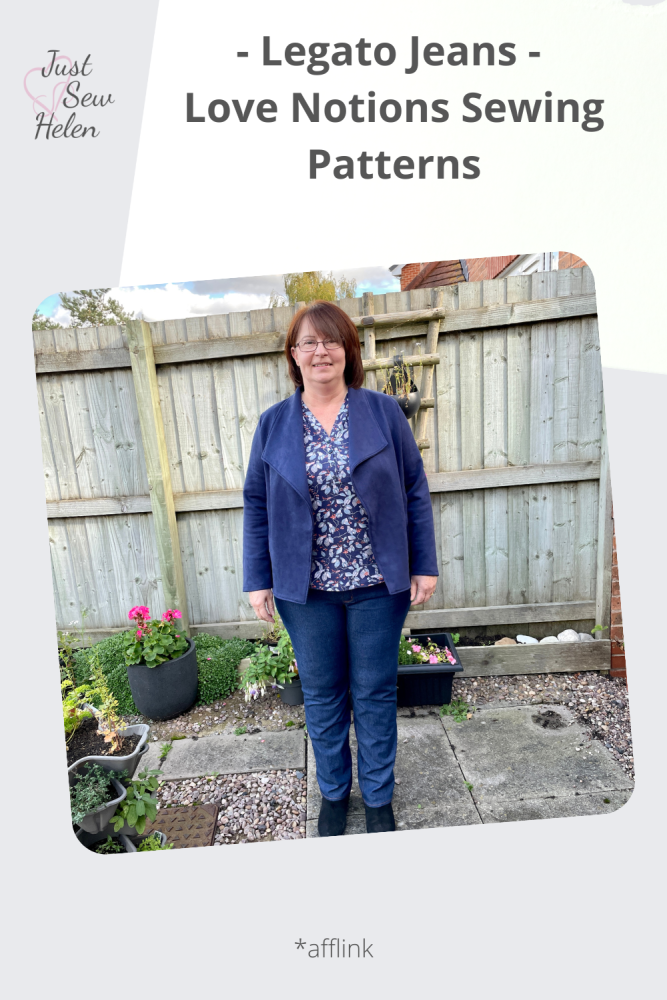
I made jeans! Proper jeans with a metal zipper fly, coin pocket, belt loops & rivets!
I always have difficulty with the fit of trousers & I have made a pair of pull on jeans in the past but I wasn’t 100% happy with the fit. The Legato Jeans PDF Sewing Pattern is fully customisable for petite, regular & tall with full or flat bottom options and straight or curvy waistband incorporated.
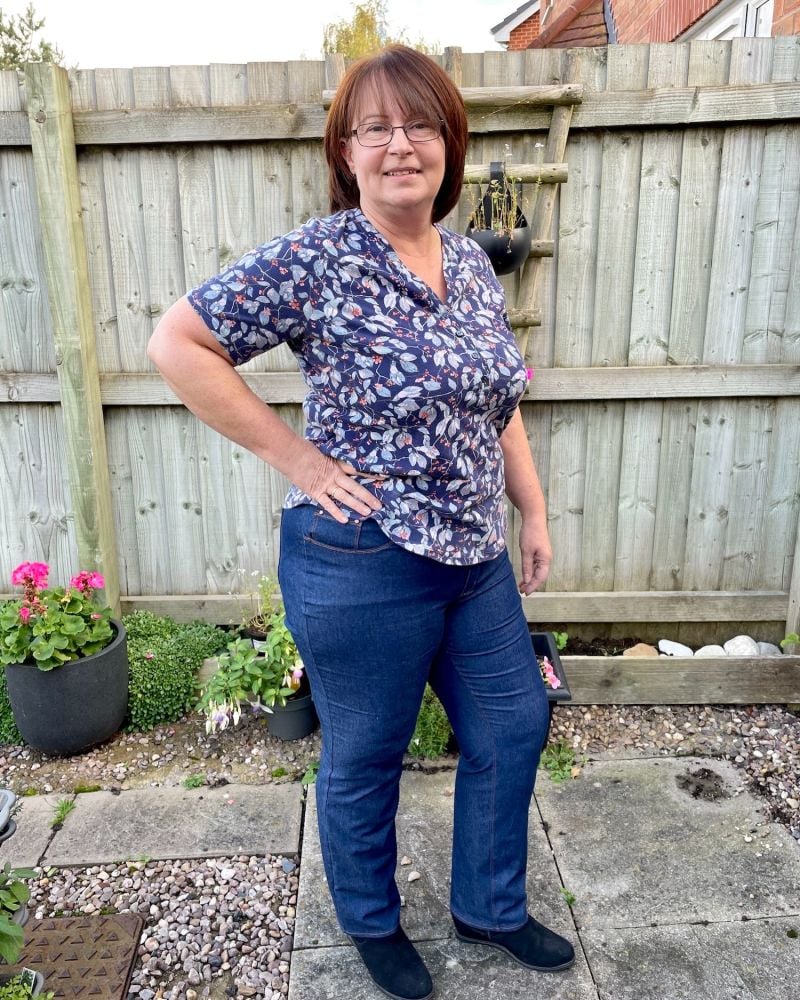
There’s not much more satisfying than the feeling of accomplishment on completing a pair of well fitted, authentic jeans.
All of the supplies I used are linked at the end of the post.
The Pattern
The pattern is the newly released Legato Jeans from Love Notions Sewing Patterns & once again, I had the pleasure of being one of their pattern testers with a great team of ladies openly discussing their body shapes & sizes and offering tips and advice along the way. Tami, the owner & designer, is always on hand to provide her expert opinion on fit & techniques during the extensive testing process.
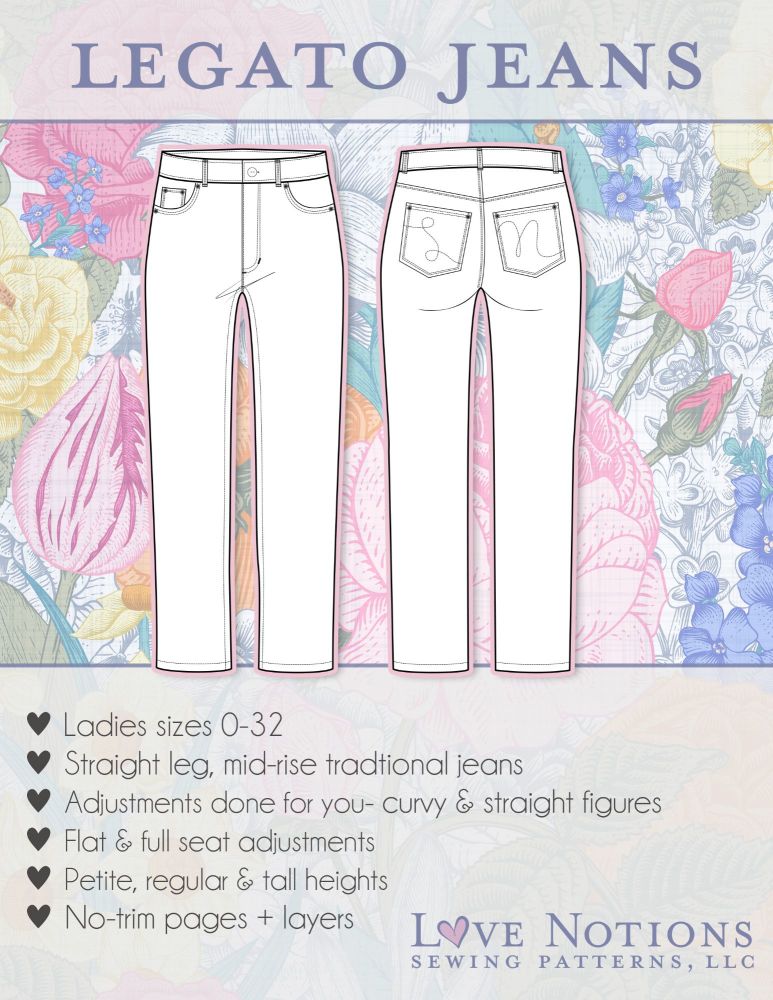
The Legato Jeans are a straight leg, mid-rise jean hitting at the ankle. The jeans are meant for denim with a small amount of stretch, 1-3% elastane. The rise is designed to hit at, or just below, the belly button. Pleasantly fitted in the waist, hips and thigh, falling straight to the ankle.
These traditional jeans can be made your own with details like rivets and topstitching. This is a great project for beginner and advanced sewists alike that want something a little more challenging but rewarding.
The pattern was released on October 25th with the regular price of $12.50, approx. £11.06.
There is also a Jeans Workshop Course walking you through every step of the process, costing $25, approximately £22.12.
Here are the links for the Legato Jeans Pattern & the Legato Jeans Course.
Every pair made by the testers came out amazing, each adding their personal adjustments to fit their different body shapes. The pattern is a well-designed basic pair of jeans with a comprehensive trouser fitting guide included to perfect your individual fit. There are helpful videos linked within the pattern instructions.
Once purchased, the PDF pattern can be printed at home on A4 paper (UK) and taped together, or the A0 version can be uploaded to a copy shop to be printed and posted out to you for a fee. I have used The Savvy Sewist and The Fold Line and both offer a good service & I usually pick the one that has an offer on at the time. For print at home the pattern can be opened in Adobe Acrobat to select just the sizes you want to print. I print a size above and a size below my chosen size to allow for any grading.
Sizing
The sizes range from 0 to 32, full hips 34.5” to 59.5” (88cm to 151cm) and although the pattern uses US charts the measurements are very comprehensive enabling you to customise your pattern. I find it helpful to ignore the dress sizes at the top and just mark off which measurements I fall into. I then use a highlighter pen to mark the pattern with any grading ready for cutting.
Choosing your size is based on the full hip measurement, grading to the relevant waist and thigh. There is an option for a curvy or straight yoke and waistband depending on the difference between the waist and hip measurements. I used the curvy waistband option as my hip to waist ratio is greater than 10”.
Fabric
The pattern recommends medium weight denim, 10-13oz/290-375gms (grams per square metre), with 1-3% spandex/elastane. Different stretch percentages and weights will affect the fit of the jeans and I used 1.8metres of 300gsm denim with 3% elastane from Minerva. I found this a good weight to sew as it wasn’t too thick but it does feel slightly lighter to wear. I will look for something around 320gsm to try in the future.
I’m familiar with ounces that the US tend to use for fabric weights but a number of UK sites list denim in gsm so it is worth reading the details about any fabric before you purchase it.
A small piece of cotton fabric is required for the pocket linings and I had a fat quarter of quilting cotton available which was just the right size.
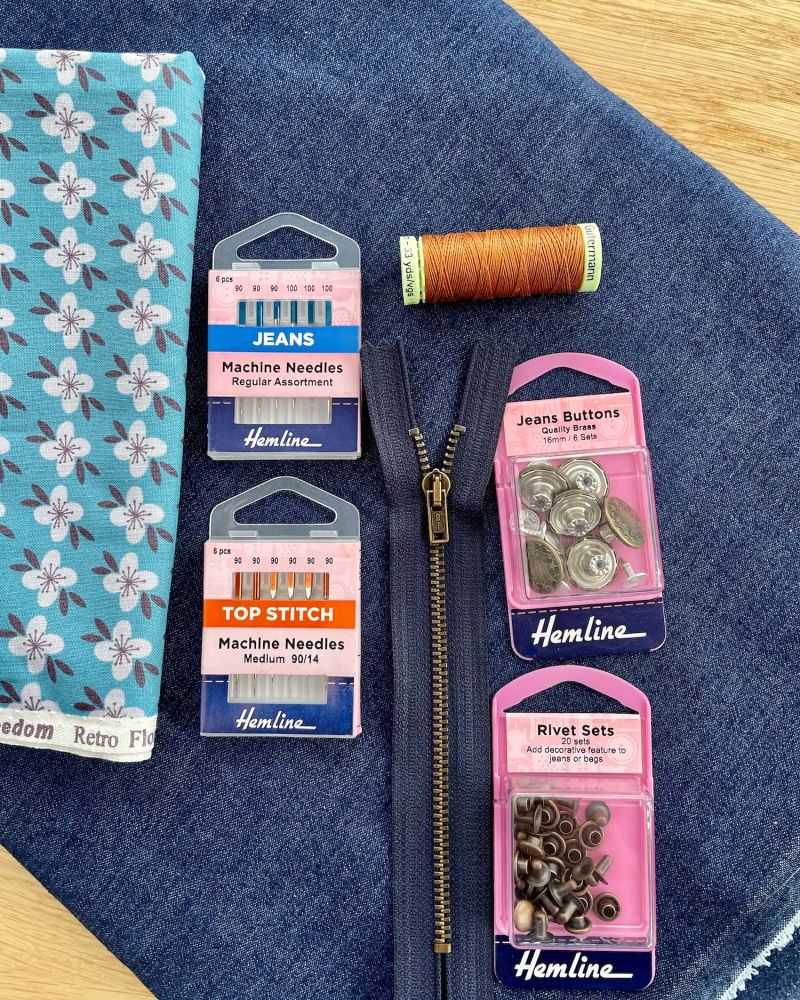
Notions & Hardware
There are a number of notions that you can choose to use & these give the jeans their authentic look.
- Metal zipper 6-7”
- Top stitch thread 2 x 30m (I used just over one reel)
- Denim needle
- Top stitch needle
- Jeans button
- Rivets
The notions add up in cost when buying them all together however, the rivets and denim buttons come in sets of 20 & 6 respectively, so there are plenty for future projects.
Similarly, the recommended denim and top stitching needles are usually sold in packs of 5 so they will also last some time. It is worth investing in both needle types if you don’t already have them. A denim needle is stronger & sharper to penetrate the thicker layers and the top stitch needle has a larger eye to accommodate the thicker thread along with being stronger.
I hadn’t used top stitch thread in my machine before and just used a standard coloured thread which works ok but I do recommend using Gutermann Top Stitch thread for a much better result. I bought a 30m reel of Gutermann 448, a deep copper colour, and the reel ran out when I just had the belt loops & hems left to sew, so I had to dash to by some more! Luckily, my local Hobbycraft stocked this colour and I was able to buy on click and collect for the next day.
It’s a bit of a pain to continually swap needles and thread for top stitching so I tried to batch sew as much as possible to reduce the number of changes. In an ideal world, a spare machine would mean no more switching mid project.
Another handy gadget is a hump jumper tool or bulky seam aid which keeps the sewing machine foot level whilst sewing over thicker seams, thus preventing threads tangling at the back of the fabric. I didn’t have one to hand but a sewing machine needle case placed under the back of the foot works really well. I used a case that was approximately 3mm deep.
Toile/Muslin/Mock-up/Practice Garment
It is important to make a toile/practice garment before cutting into your good fabric. Although it can feel like a waste of time when you’re eager to get on with the project, there’s nothing worse than taking the time and energy to make an item in good, & often expensive, fabric only to find it doesn’t fit!
For the jeans, you can make a short practice pair relatively quickly by making them without pockets and with no seam finishing or top stitching, also by using a longer stitch length. I used an old duvet cover which wasn’t ideal as it had no stretch, but my first task was to get the rise correct as this is an area I struggle with. I made two practice pairs to adjust for my problem areas before using denim. If you need to adjust for thighs, knees or calves I suggest making a full length toile.
This lady on YouTube, J Sterns Designs, has easy to understand visual tutorials and she helped me immensely with adjustments for a low and prominent butt.
For my final adjustments I pinned the side seams and carefully tried them on inside out, adjusting the pins where I needed. Any alterations were then transferred to my pattern pieces.
My fit & Adjustments
My final fit was US Size 20, standard length, full butt option & the curvy waistband. I then graded out for a wide high hip, adjusted for low & prominent butt & a flat pubis.
My measurements are:
- Height: 5ft 6"
- Waist: 37”
- High hip: 47”
- Full hip: 48”
- Thigh: 28”
- Knee size: 18”
- Calf: 17”
- Inseam: 29.5”
The adjustments I made included –
- Low butt adjustment of 1cm which lowers the back crotch curve
- Full/prominent butt adjustment 2cm using the cut and slide method (as video above)
- Flat pubis reducing the front curve by 0.5cm, which straightens out the curve slightly
- Lengthened the front and back rise by 2cm
- Graded down to size 18 for the waist
- Graded out to size 22 for high hip
- Removed a dart of 2cm from the centre back seam of yoke as it was gaping
- Removed a 2cm dart from centre back of waistband to fit the yoke
- Add 2.5cm to leg length
Summary of my Tips
- Trust the pattern measurements & refer to the finished measurements & ease to assess for any grading.
- Ignore the dress sizes at the top of the chart and go by your (accurate) body measurements.
- Make a mock/toile/muslin/practice pair, ideally in a similar fabric.
- Take photos front and back to check for fit & drag lines etc.
- Study the fit guide & make adjustments on the practice pair(s).
- If you need to adjust the crotch for a prominent butt refer to this video.
- Practice the zipper either by pinning or basting, to get familiar with how the fly cover works & the positioning in relation to the centre front. There’s a video link on the pattern instructions for fitting the fly zipper & I also found this zipper tutorial helpful by Karina of Lifting Pins & Needles.
- Check the waistband is level either side of the fly before stitching & top stitching.
- Definitely use the recommended needles eg denim and top stitch.
- Make sure you don’t run out of top stitch thread - I used one full 30m reel plus part of a second reel.
- Test topstitching on scraps for tension & stitch size. I used stitch length number 4.
- Use normal thread in the bobbin – it’s cheaper than top stitch thread and it doesn’t show anyway, as long as the tension is set correctly.
- Don’t overlock or top stitch until you’ve tried the jeans on, either pinned or tacked.
- Sew top stitching in batches to reduce the number of thread changes.
- Bar tacks at pockets and belt loops – my machine doesn’t have this stitch so I used a small tight zigzag stitch, similar to that used for a button hole. My settings were length 2.5 & width 1.0.
- For the button hole, I used the automatic buttonholer but with regular thread in the same colour as the top stitch thread. I was worried the thicker thread would fail part way through making the buttonhole. I practised on some scrap first.
- Use an aid to stitch over bulky seams such as a Hump Jumper or a needle case.
- Making the holes for the rivets and button - a stitch unpicker works well if you haven’t got a rivet kit or Tailors Awl. I didn’t have a kit and just used a hammer, making sure the front of the rivet was protected with a bit of fabric before hammering the back.
Finishing the Jeans
The top stitching, metal button & rivets all give a professional finish to the jeans and I can’t believe I’ve never used rivets and jeans buttons before! They’re so easy and satisfying to use &, in my opinion, much better than hand stitching a button on.
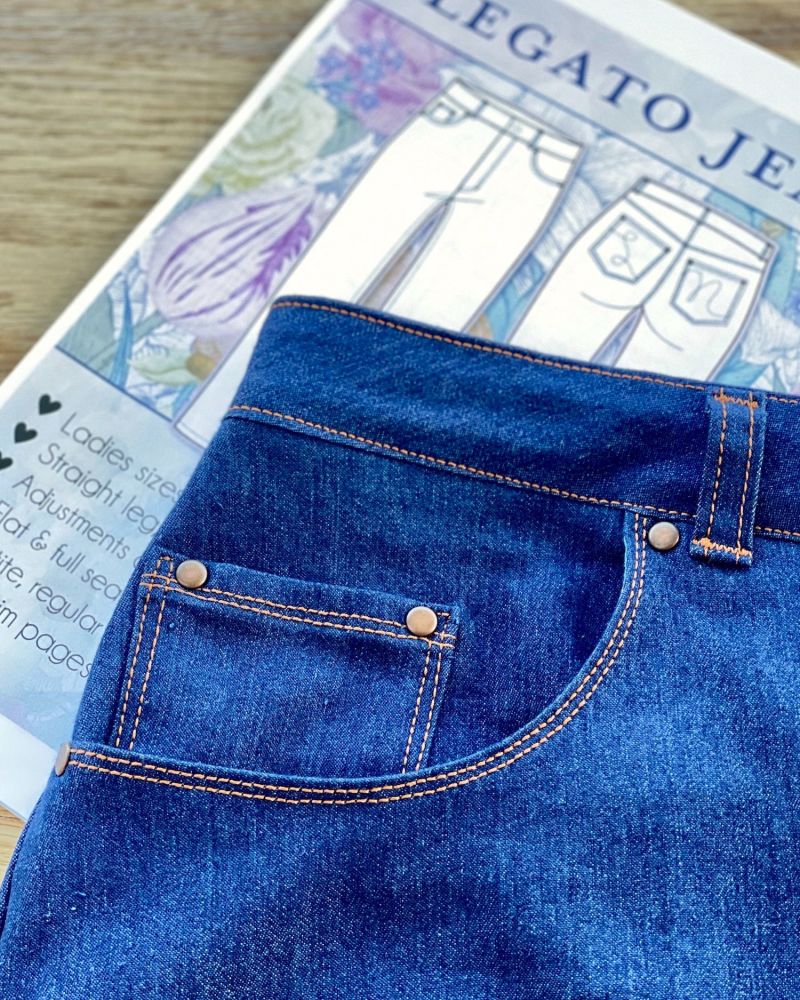
I watched a few YouTube videos which were really helpful but most of the videos showed how to use a kit or additional tools. This video was the simplest I found for attaching the button.
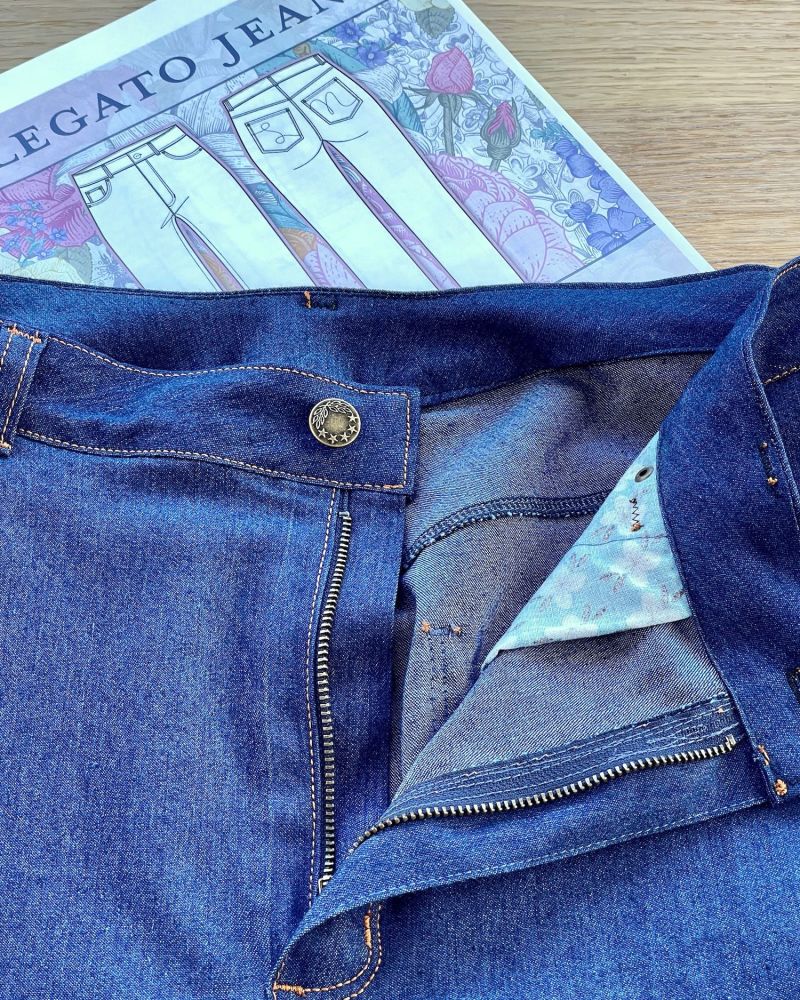
The denim I used was not quite as heavy as suggested & next time I'd use a slightly heavier weight and ideally with more elastane, if I can find some. They initially pulled slightly across my full hips but the fabric did give when I’d been wearing them for a while.
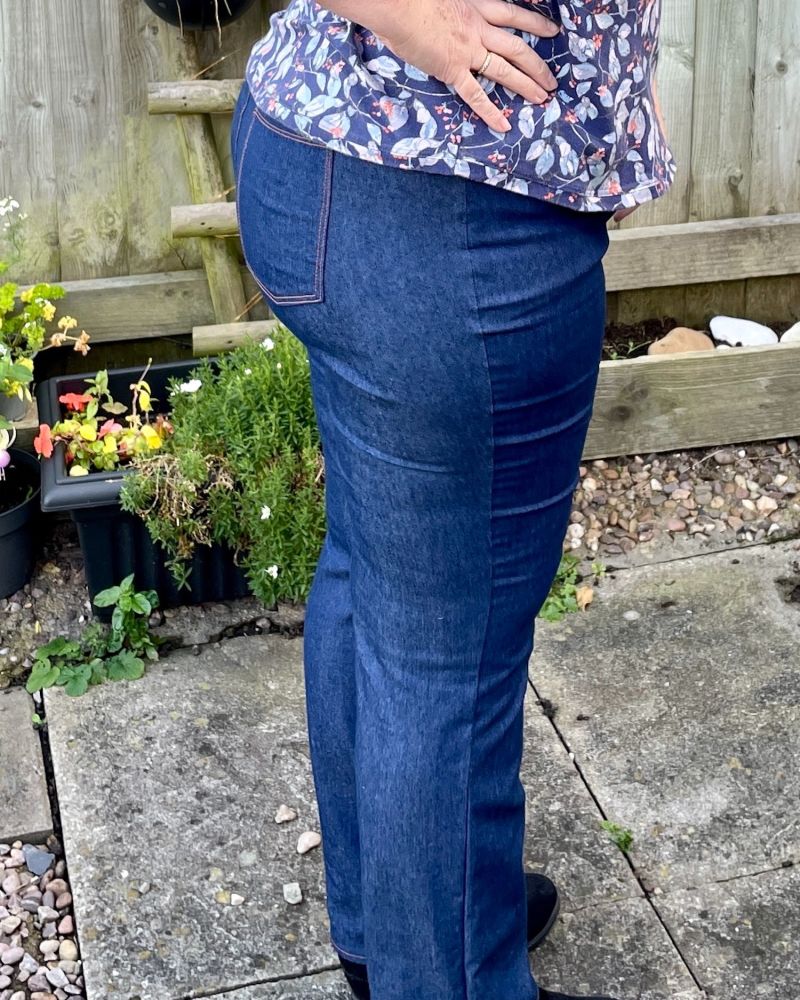
I’m so happy with the finished jeans and they’re the closest I've come to perfectly fitting jeans for my ever changing shape.
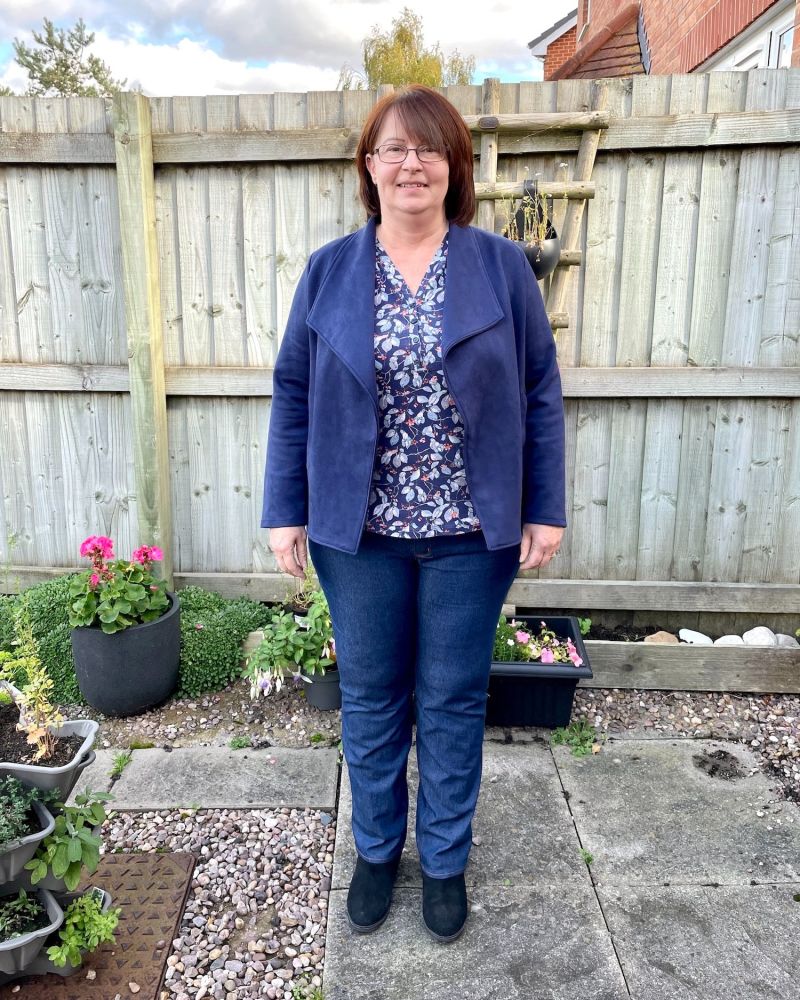
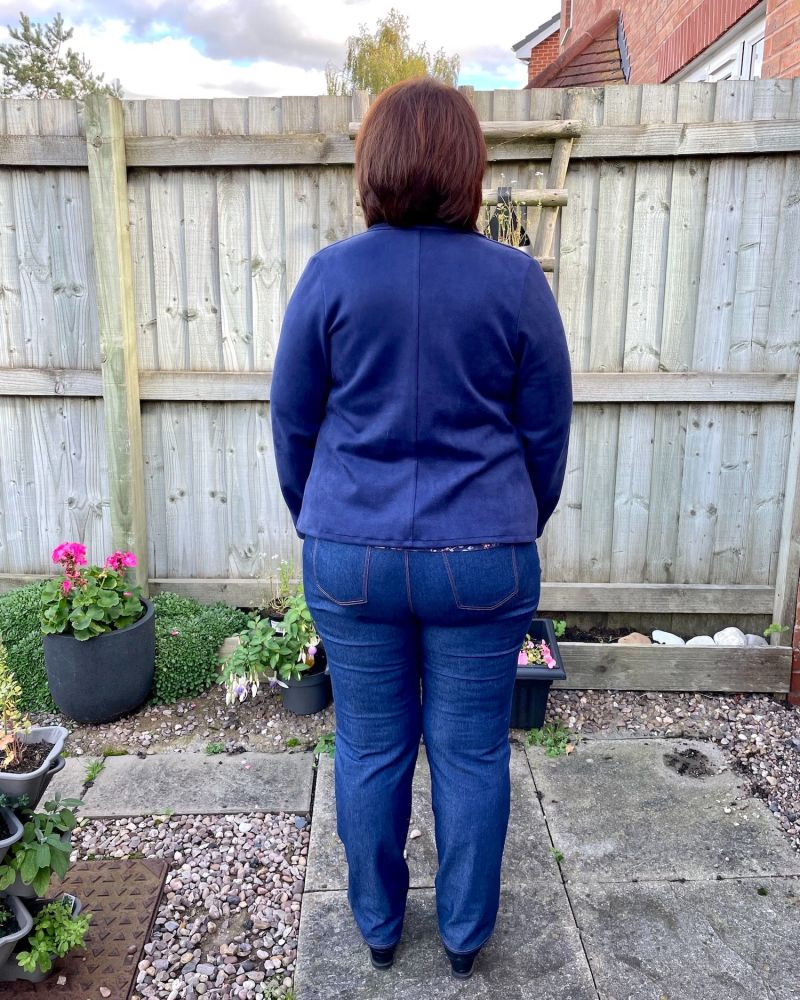
Future adjustments
For my next pair I will add a bit more ease in the waistband & possibly across the tummy with a small full tummy adjustment. I always wear a belt with jeans so I can allow some extra room to make them a bit more comfortable when I’m sitting or having a meal.
I may take 0.5cm out of height of back yoke but will judge this when doing a fitting.
I plan to hack the legs from another pattern to make a boot cut pair.
Overall, this pattern offers an excellent base for jeans with a comprehensive fitting guide. The course that can be purchased alongside the pattern, will offer additional guidance & confidence to make your own great fitting jeans. This is the first of many.
SUPPLIES LIST - UK
- Denim 300 gms 1.8metres
- Metal zipper 6”
- Gutermann 448 Top Stitch Thread 2 x 30m (I used just over one reel)
- Denim Needles
- Top Stitch Needles
- Jeans Buttons
- Rivets
- Any cotton fabric for pocket linings 0.2m/1/4 yard
---------------------------------------------------------------
* Post contains affiliate links*
---------------------------------------------------------------
---------------------------------------------------------------

Add a comment: