Embroidery Sampler - Hot Air Balloon
Posted on
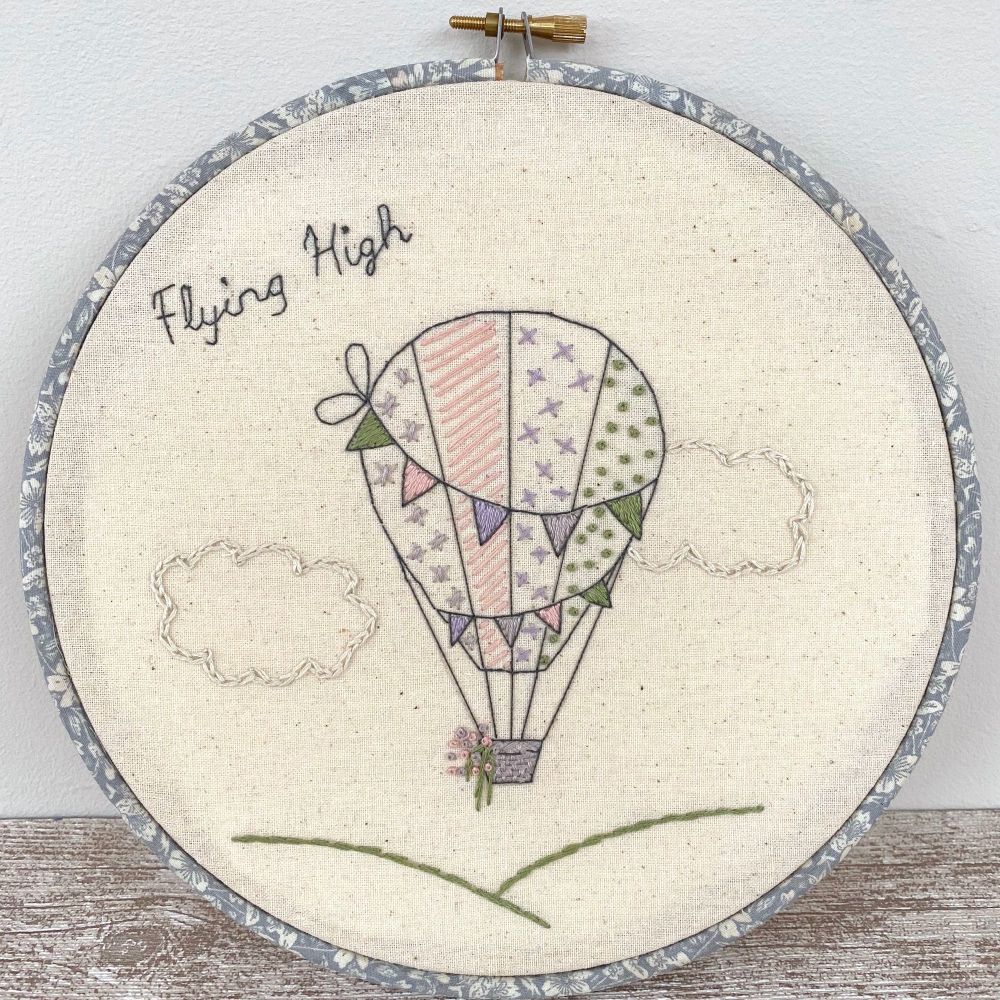
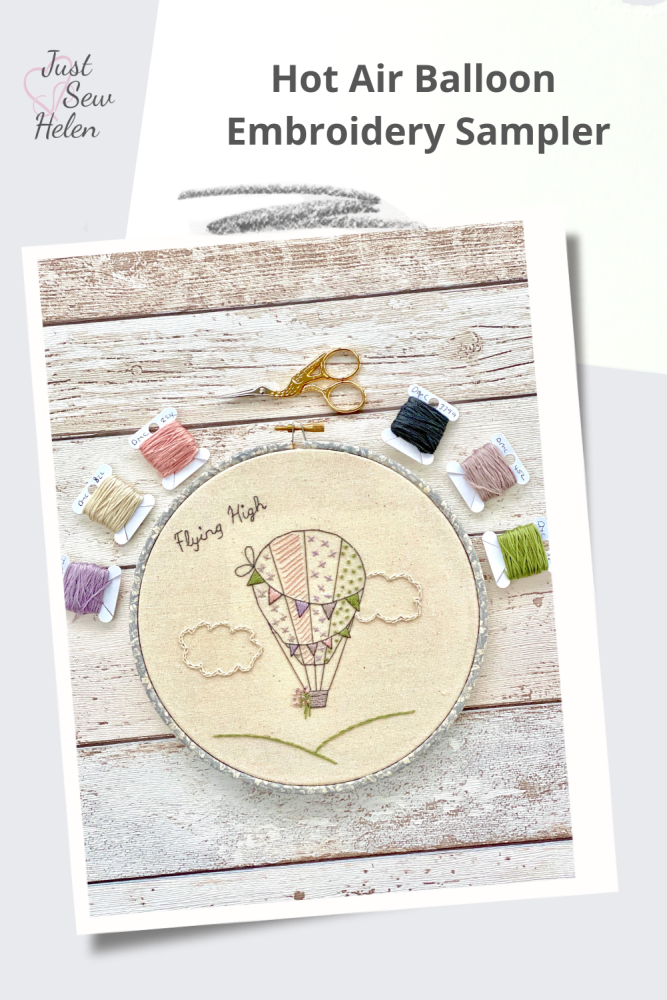
This is a project I completed a couple of years ago & it started me off creating digital embroidery patterns. It is for anyone who is wanting to practice, or start, hand embroidery & is an Embroidery Sampler incorporating 9 different stitches.
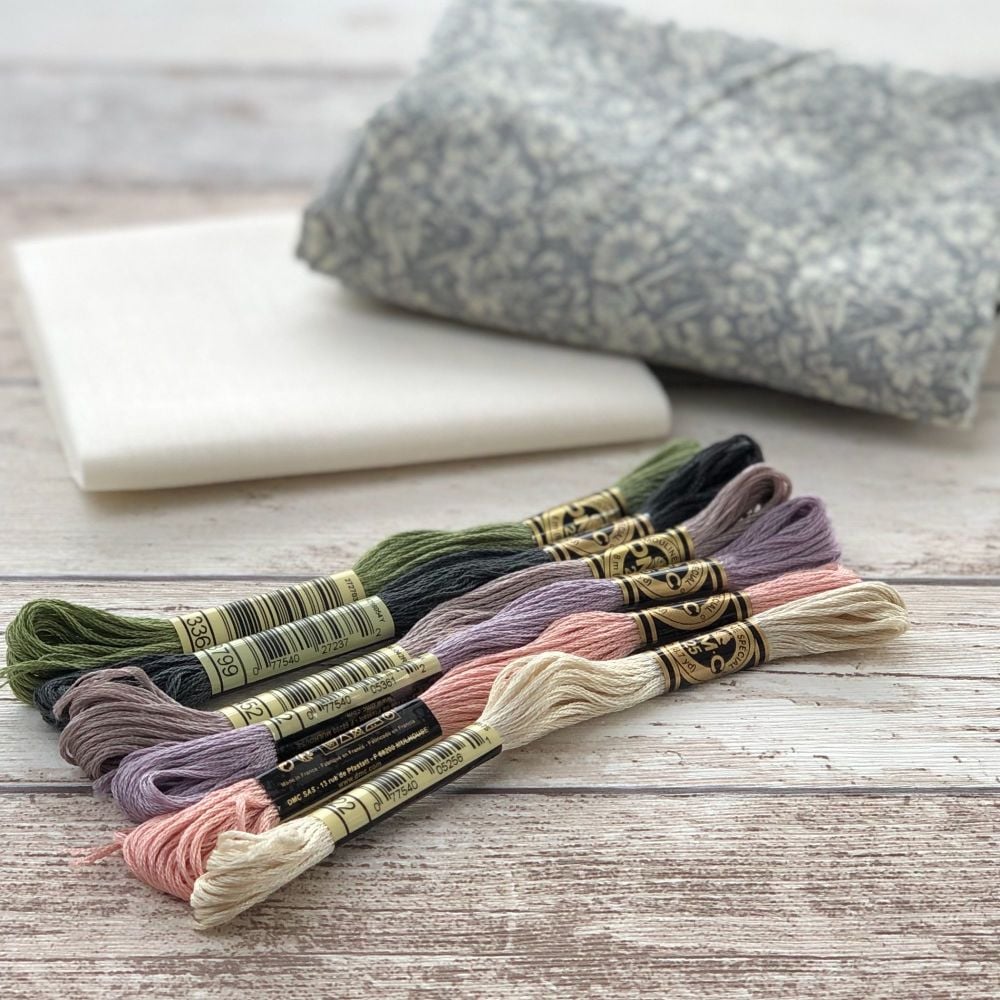
The materials list is shown below & includes a Natural Cotton Quilting Fabric for the backing, a selection of DMC embroidery threads, white felt to finish the back & a floral poplin fabric which I used to cover the hoop.
My usual method of transferring an image onto the backing fabric is to upload, or create a pattern on my iPad and then trace directly with a pencil, using the iPad as a light source. Putting the fabric right side uppermost in the hoop & laying with the flat side down keeps the fabric taught whilst tracing. The pattern is available to buy via my Etsy Shop, which is sent as an instant download or a copy emailed when purchased from my website shop.
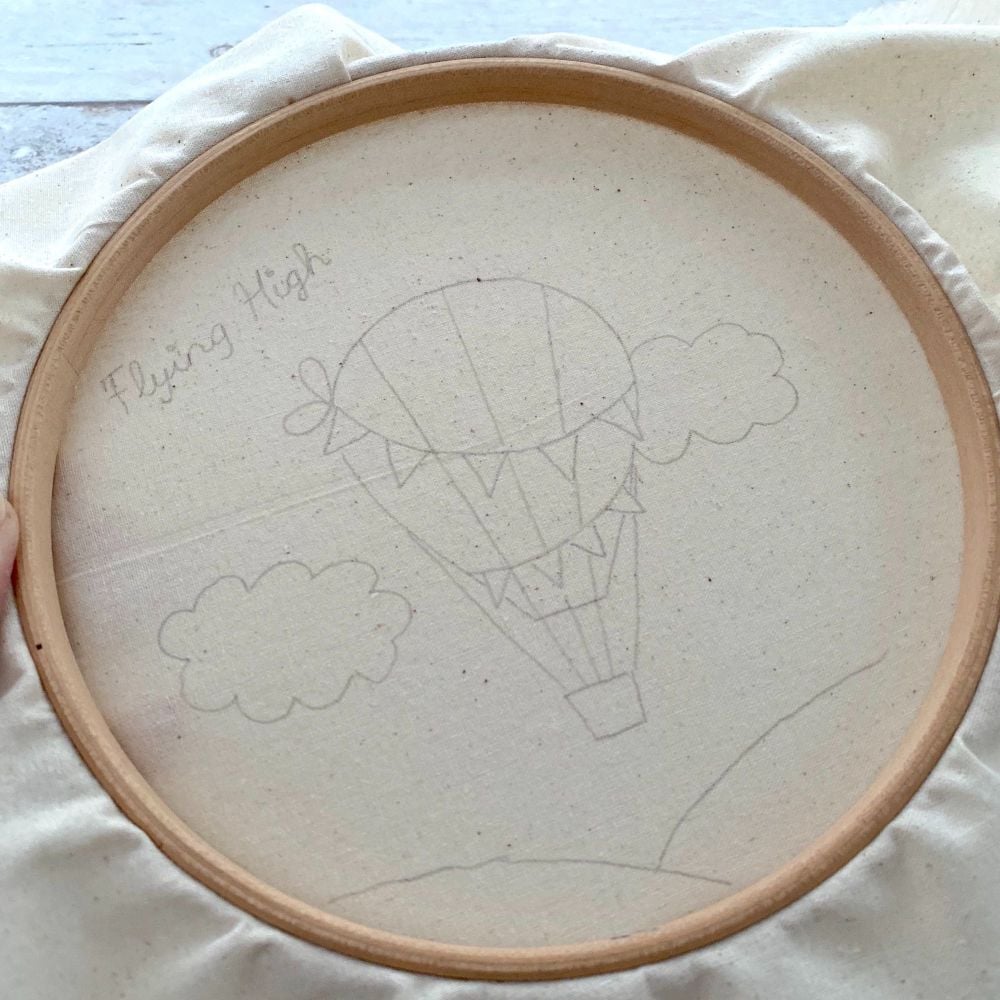
There are many other methods of transferring an image onto fabric & a Google search will help with this. The methods include using embroidery carbon paper, erasable pens or pencils, iron on transfers or the simplest, and cheapest way, is to tape the paper design onto a window and trace onto the fabric with a pencil. I have used this method but find my arms ache and the fabric can move slightly which can be a problem if the design is more detailed/intricate. There is no right or wrong way, only finding what your preferred method is. Minerva stock many of these items.
I envisaged the finished design to have feminine, subtle colours, but not quite pastel shades and my colour choices for this project are –
DMC 3799 - Charcoal grey
DMC 452 - Stone
DMC 3364 - Green
DMC 224 – Pink
DMC 3042 - Lilac
DMC 822 – Cream/Ivory
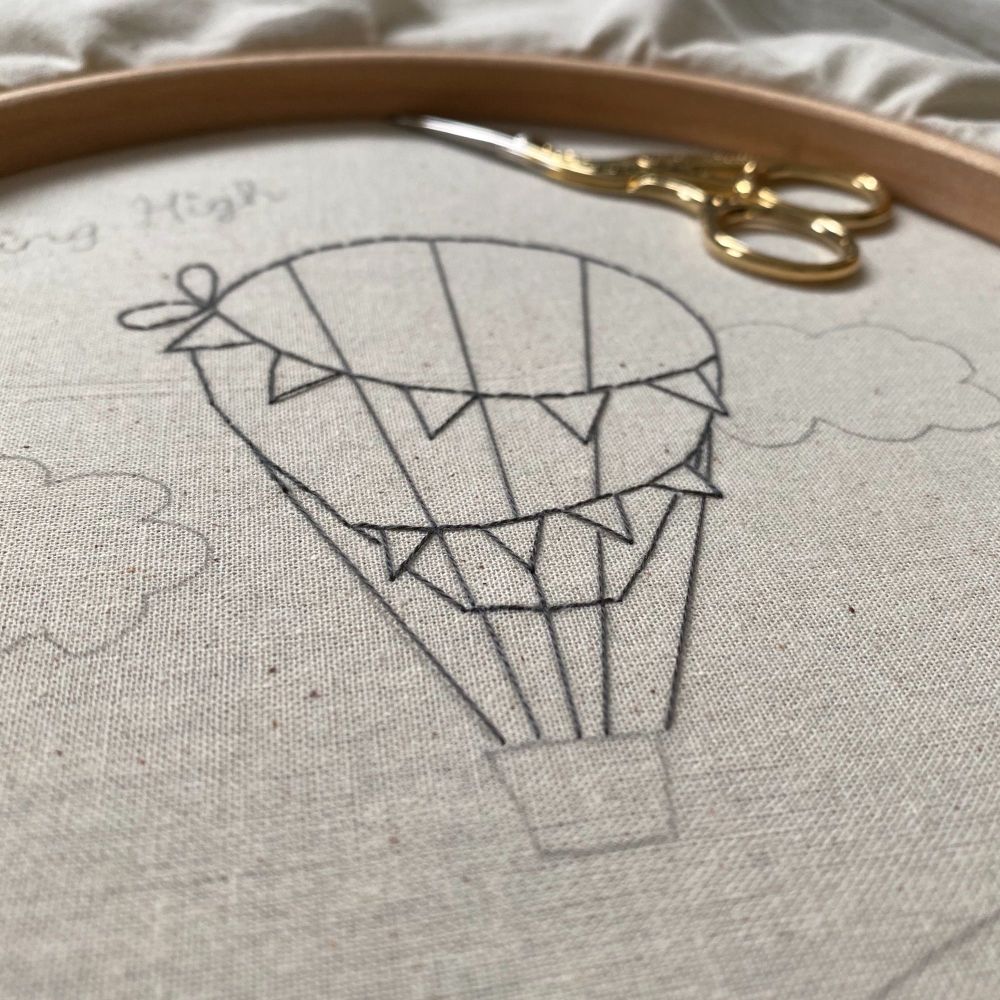
For the main outline I used a single strand of grey thread (3799) & outlined using back stitch. This was the first layer of stitching and I chose to also outline the bunting. but this could be done just in a solid colour. For the ropes, I used long stitches rather than back stitch as this prevented stitch lines being visible and it makes the line completely straight. I usually hold the thread on the surface of the fabric to ensure it is straight and then insert the needle at the desired point.
My method of choice for securing the thread to start stitching is the ‘away knot’ and there are many methods possible. Again, a search on Google will bring up all of the different methods.
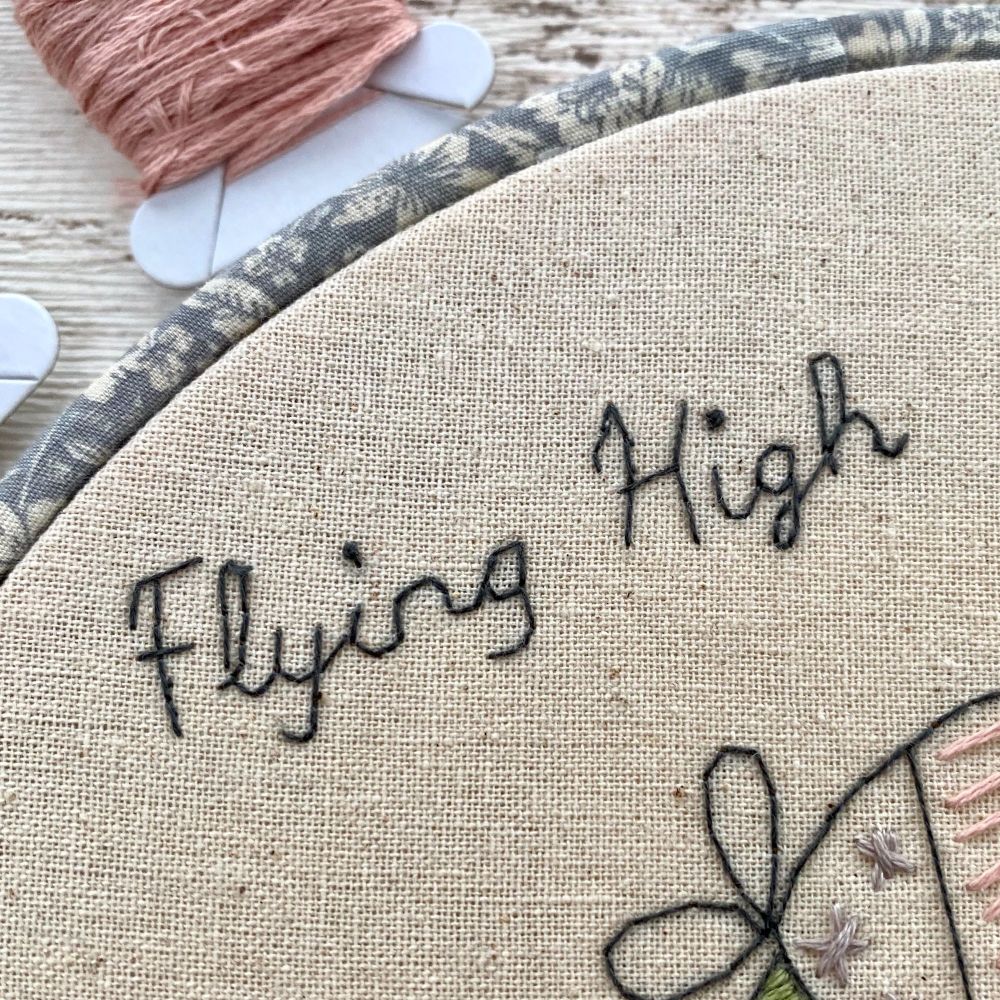
When I add lettering, I prefer a font such as open sans for a neater finish when stitching, but for this picture I wanted a handwriting style and picked Dancing Script, again stitched in back stitch. For curves, use smaller stitches to avoid square corners being visible. Another useful stitch for lettering is stem stitch as it gives the impression of flow around curves.
The basket of the balloon was created with 3 strands of thread using weave or basket stitch. When weaving the thread over and under it helps to use the eye of the needle as it doesn’t catch & pull threads. It can be fiddly to get used to, just remember if you end a row with an ‘under’ weave start the next row with an ‘over’ weave and secure each line with a small stitch.
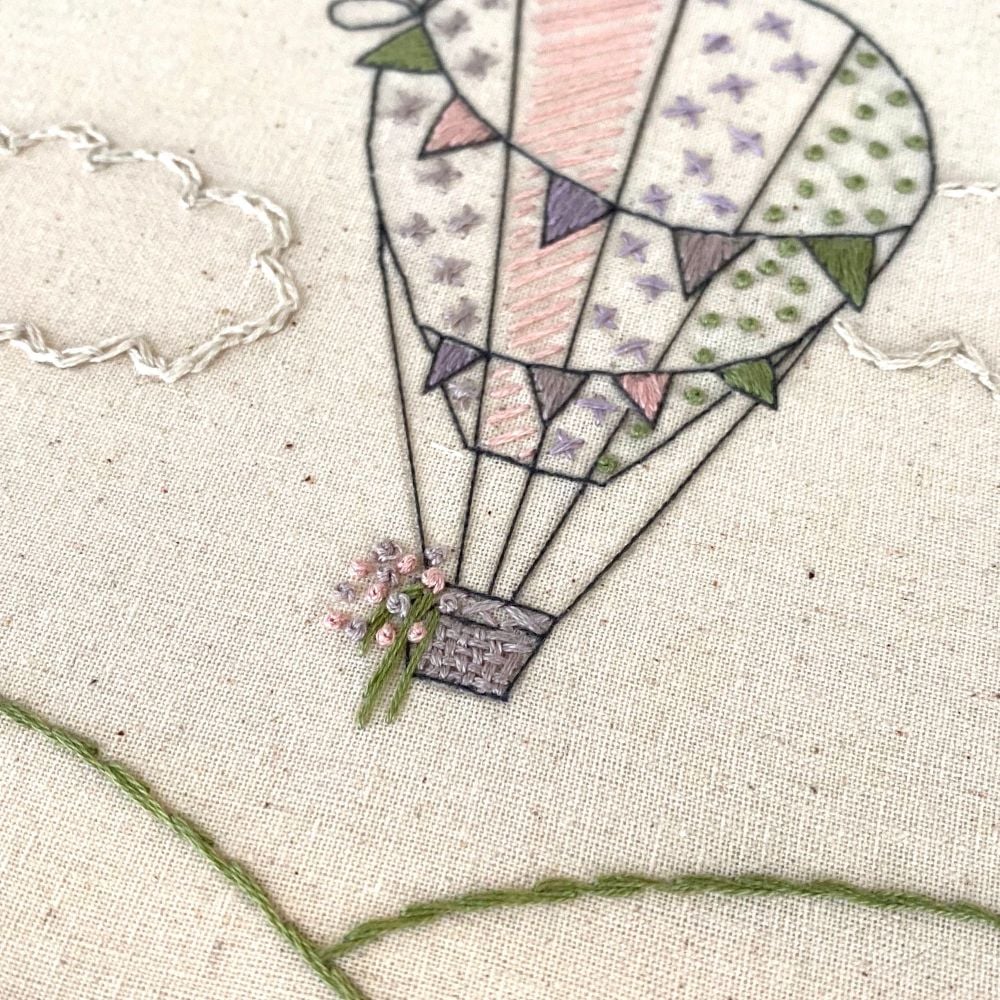
The bunting, in satin stitch, was stitched with 3 strands of thread as were the stars, cross & chain stiches, long stitches and French knots.
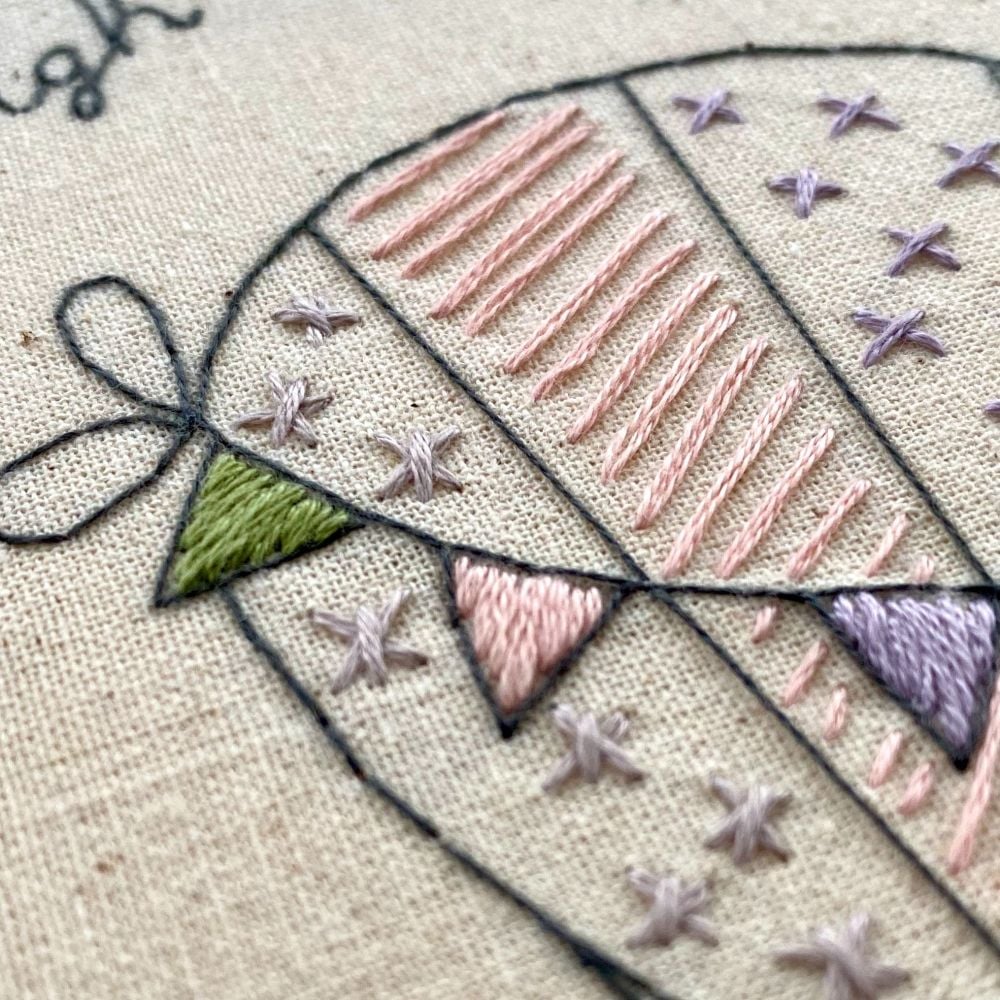
The stitches that were used for this project are –
Back stitch
Long stitch
Satin stitch
French knots
Cross stitch
Star stitch
Stem stitch
Chain stitch
Basket stitch
It is tempting to run thread across the back of the work to avoid having to end and restart thread, but care should be taken when doing this as dark thread on a light or thin fabric will show through to the front which can spoil the finished effect.
When all of the stitching is complete, I iron the fabric on the reverse which presses the fabric without flattening the stitches.
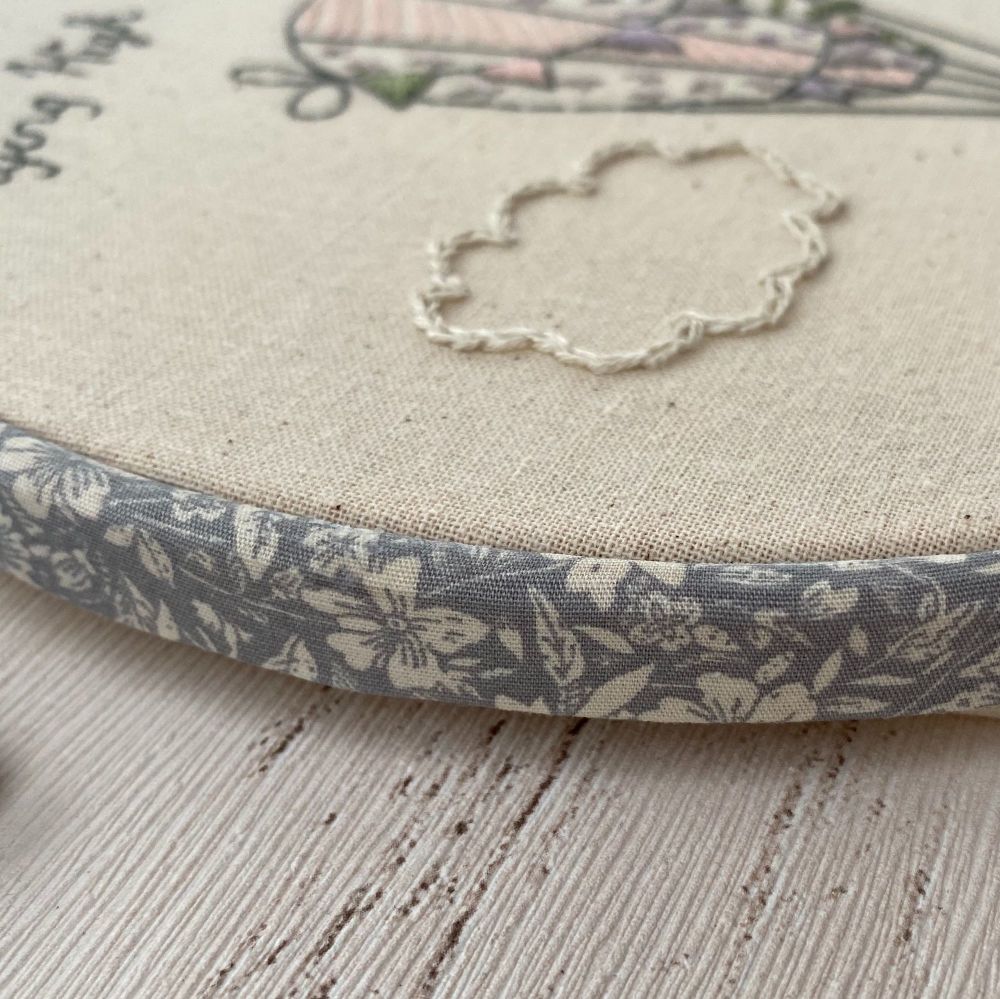
To frame the work, and instead of a plain embroidery hoop, I covered an 8 inch hoop with some cotton poplin fabric and glued it with Modge Podge designed to be used with fabric. For the back of the hoop, I generally finish by hand sewing a circular piece of felt although there are different methods and, again, this is down to personal preference.
I learnt many stitches from my mom years ago however, for a refresh I use a great resource online by a lady called Mary Corbet of Needle n Thread.
I love this simple hot air ballon design and it was good practice for the stitches, in particular chain stitch which I don't use that often.
I'd love to see your finished samplers & you can tag me on Instagram @JustSewHelen
List of Materials -
Natural Klona 100% cotton fabric
DMC 3799 - Charcoal grey
DMC 452 - Stone
DMC 3364 - Green
DMC 224 – Pink
DMC 3042 - Lilac
DMC 822 – Cream/Ivory
Floral cotton poplin - floral poplin fabrics that are currently available
---------------------------------------------------------------
* Post contains affiliate links*
---------------------------------------------------------------
---------------------------------------------------------------
Add a comment: