My Entry - Simplicity Turns 90 Sewing Challenge
Posted on

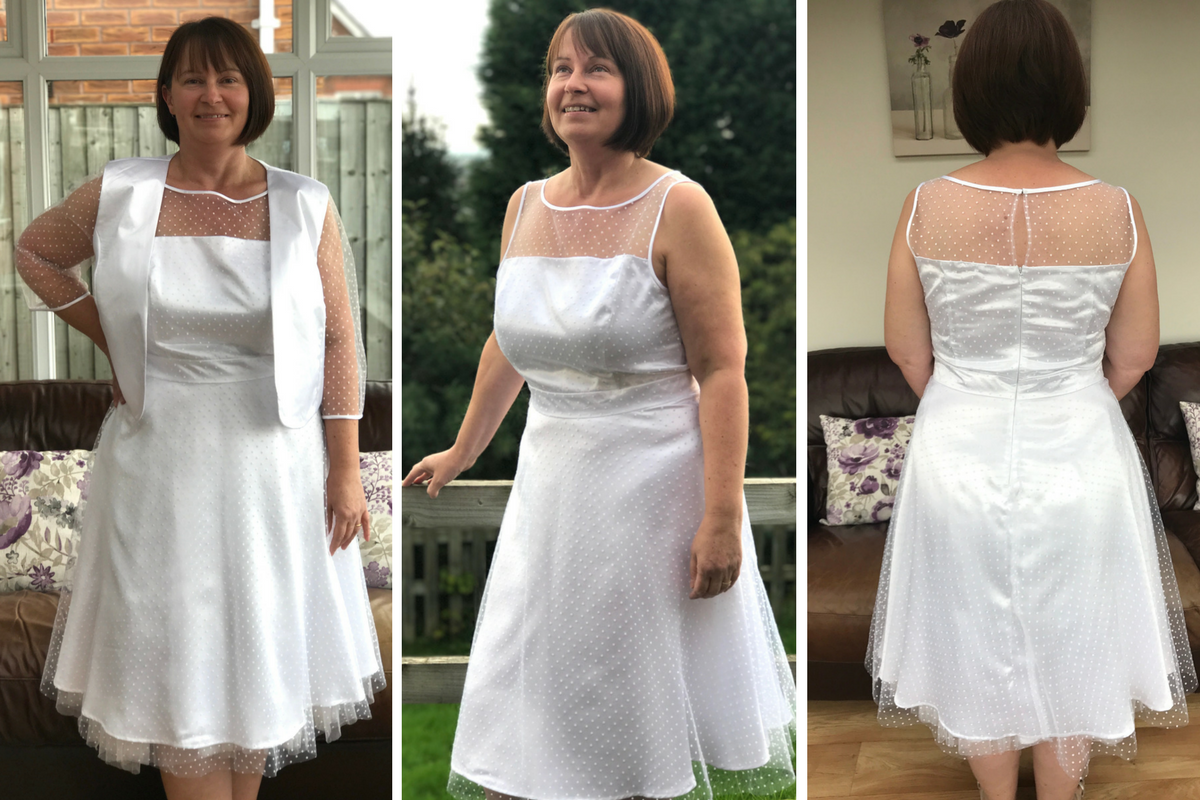
Although working to a tight timescale I’ve loved every minute of the #SummerSewingChallenge by SimplicityNewlook for Simplicity Turns 90 and here are some pictures of the finished dress & bolero. I’m so pleased with how it’s turned out.
You can read about making my decision to enter here & the pattern, design & fabric choices here.
The pattern was delivered quickly from SimplicityNewlook and the fabrics and notions had all been delivered by the time we arrived home from our holiday.
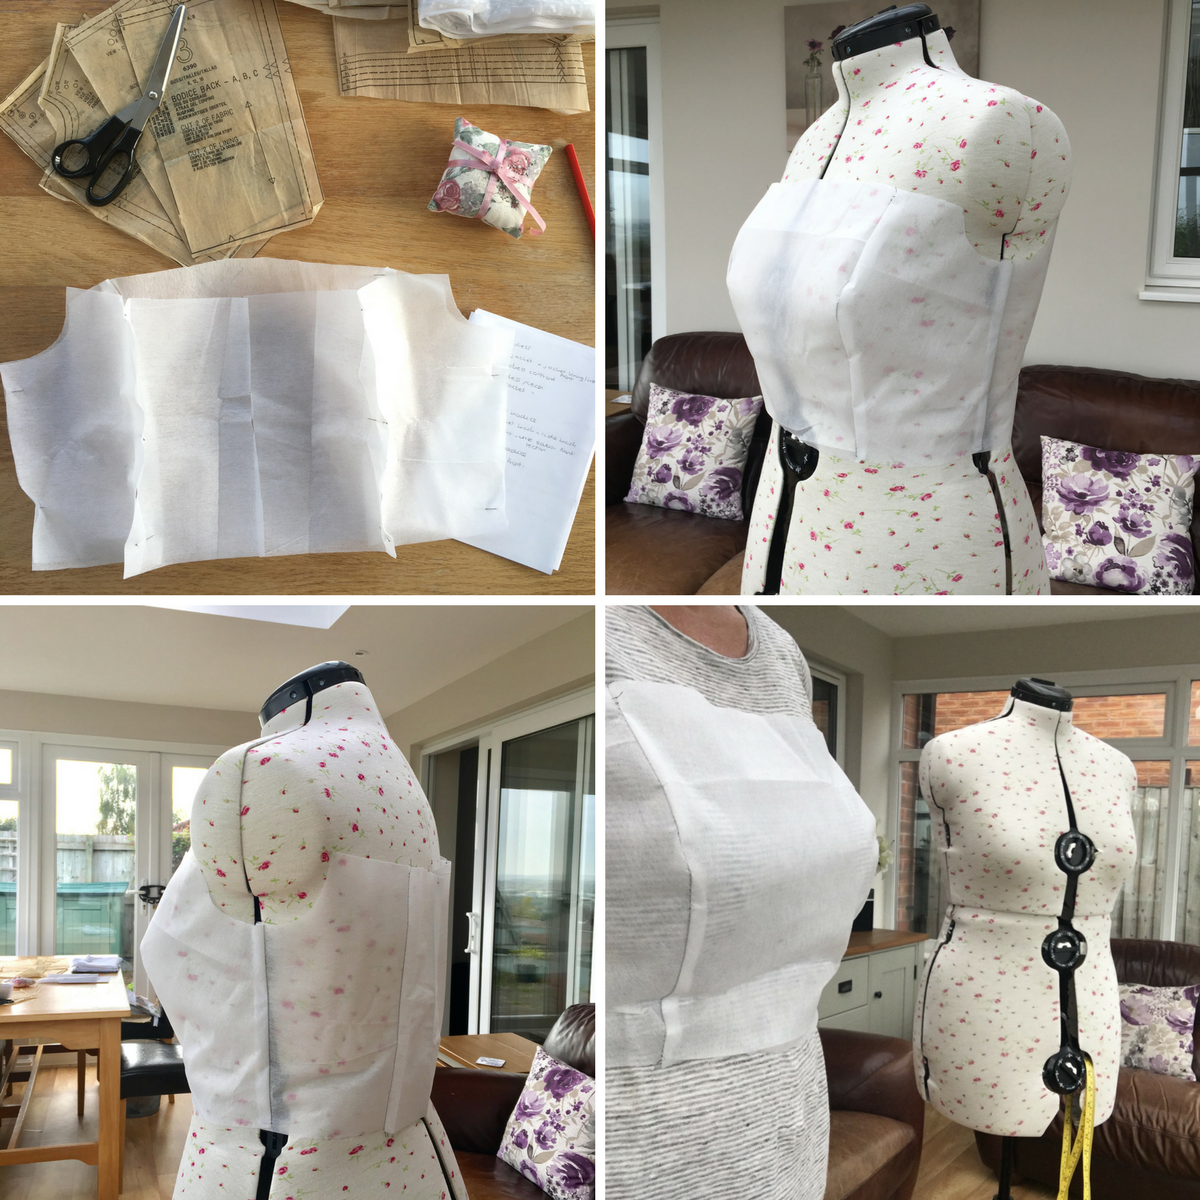
I set about reading the pattern details and checking the measurements and made a toile to check the sizing. I never used to make a toile but I’ve wasted so many garments over the years that haven’t quite fitted or have never been finished so now I always use a really cheap sew in interfacing to make a toile. It’s much easier than fabric to cut & sew and easy to adjust on the dummy
I found the pattern fairly easy to follow and have been using patterns for many years. I actually prefer to follow a commercial pattern than drape or cut by eye. I was pleasantly surprised by how easy the bolero sleeves fitted the armhole and had been a bit concerned about inserting a tulle sleeve into satin but it was a really good fit.
Although the pattern was quite comprehensive I added some extra techniques to the dress including
- Tulle overlay
- Under stitched lining at bodice yoke
- French seams on all tulle seams and side seams of the satin skirt
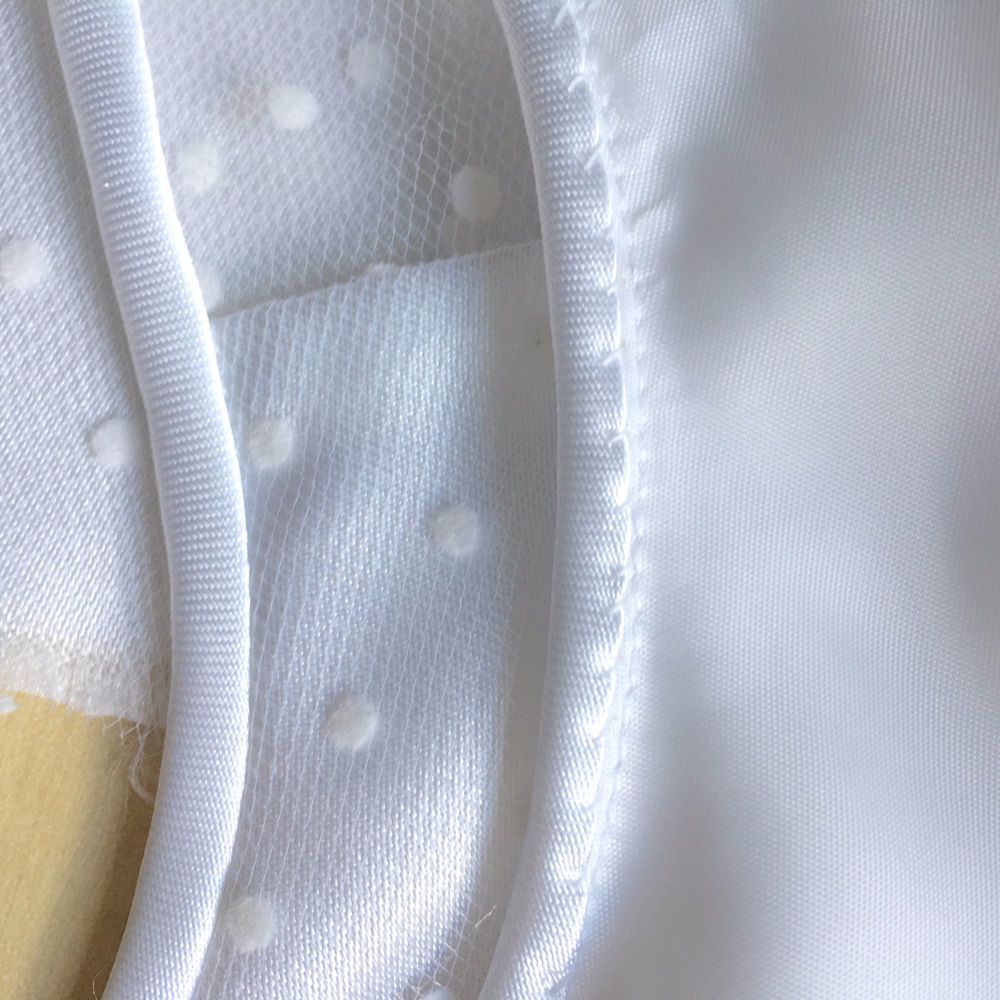
- I used a different technique for binding the armholes as when I followed the neck binding details the satin was so slippy it’s difficult to keep to the iron line when folding over the raw edge. Instead I folded the bias strip in half lengthways & attached to the raw edge by machine & then hand stitched the pre folded binding over raw the edges
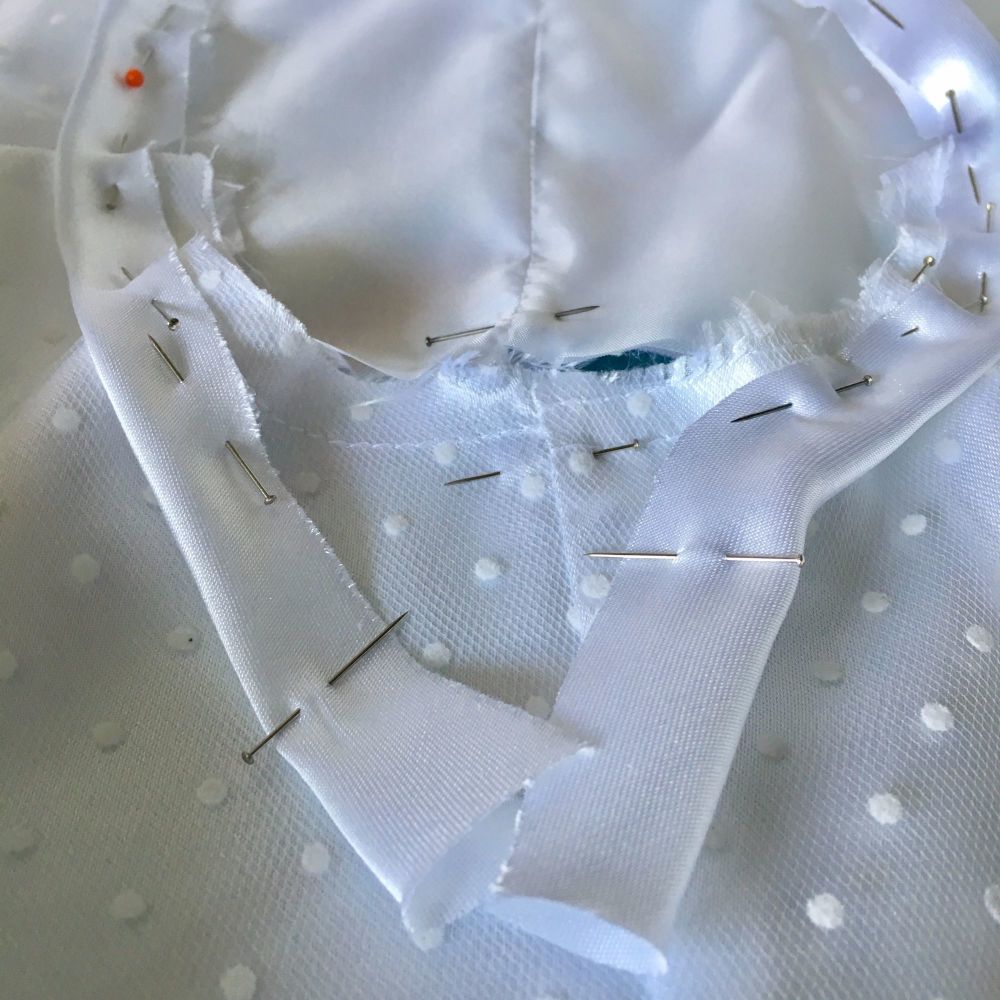
- For armhole bindings I always end up with the strip too long when it’s attached to the armhole, instead I leave the ends unstitched, I pin most of the binding in place, mark where the seam will be & leave ends loose and sew while in place
The fit
I was pleased with the overall fit but if I had realised I was going to be modelling a dress that required a strapless bra I would have made sure I’d got one that did the job properly!
Some tips for using these fabrics and attaching an overlay -
- Be careful using pins on satin as the pin holes can mark the fabric
- For all projects Iron Iron Iron ++, in particular with satin and tulle use a cool iron & with a piece of fabric so’s not to mark the shiny side
- If sponge cleaning a mark beware of the watermark after spot cleaning - I had to clean a whole panel to get rid of the watermark
- Don’t cough, sneeze, eat or drink anywhere near white satin!
- A hand Hoover is really useful for clearing up all the static bits of satin
- Satin frays a lot and gets tangled in the edges of the tulle
- Machine stitching start & finish use the machines auto setting rather than the reverse settings - it makes unpicking satin or tulle so much easier!
What I learnt /If I made this pattern again I would do the following
- Cut the skirt out more accurately next time
- Use a rotary cutter not scissors
- Hand stitch the binding more carefully - I could see a couple of tiny stitches that had caught the right side of the fabric
- No stay stitching on the tulle neck & armholes as it shows through when top stitching
- Leave the lining unstitched 1cm from edge at waist band for zip lining to be sewn after zip inserted
- French seams on arm hole seams - I didn’t have enough time to experiment this time but French seams are now my go-to method for neatening seams.
- Measure every opposite piece of fabric when inserting the zip
- A covered button instead of the hook & eye
I love the finished dress but know I'll never wear it. The fabric and notions came to a total cost of £23.52 and I intend to sell the dress & donate the money to Target Ovarian Cancer
Thank you to Simplicity for inspiring me to make my first ever wedding dress :-) ........and for making sure I've done very little house work done over the last week. I'm looking forward to seeing all of the other entries.
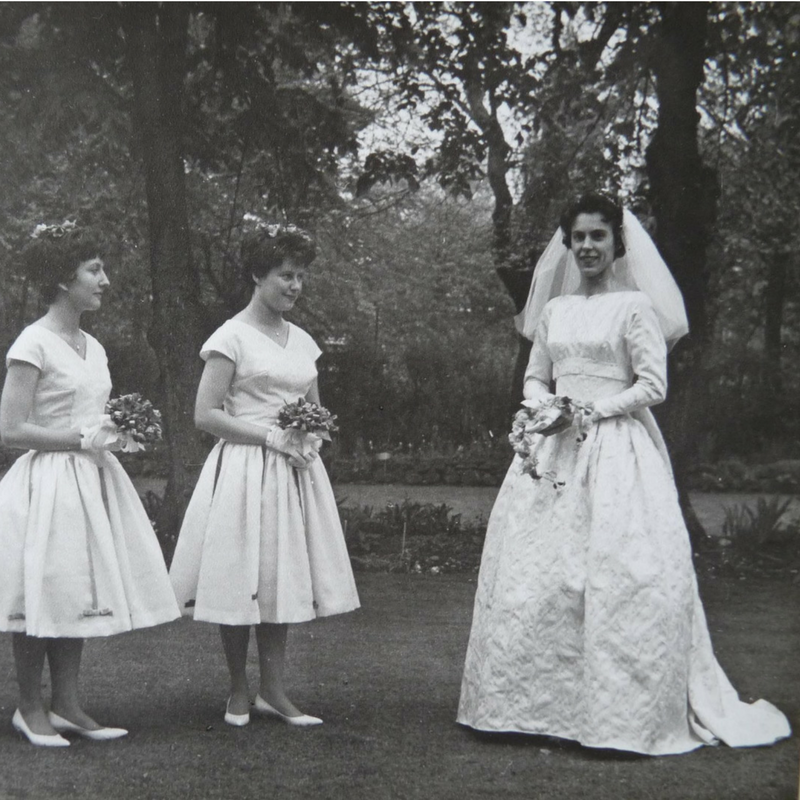
And finally thanks to mom for over 40 years of sewing advice & tips - Mom in the wedding dress she made #inmemoryofmom

Add a comment: